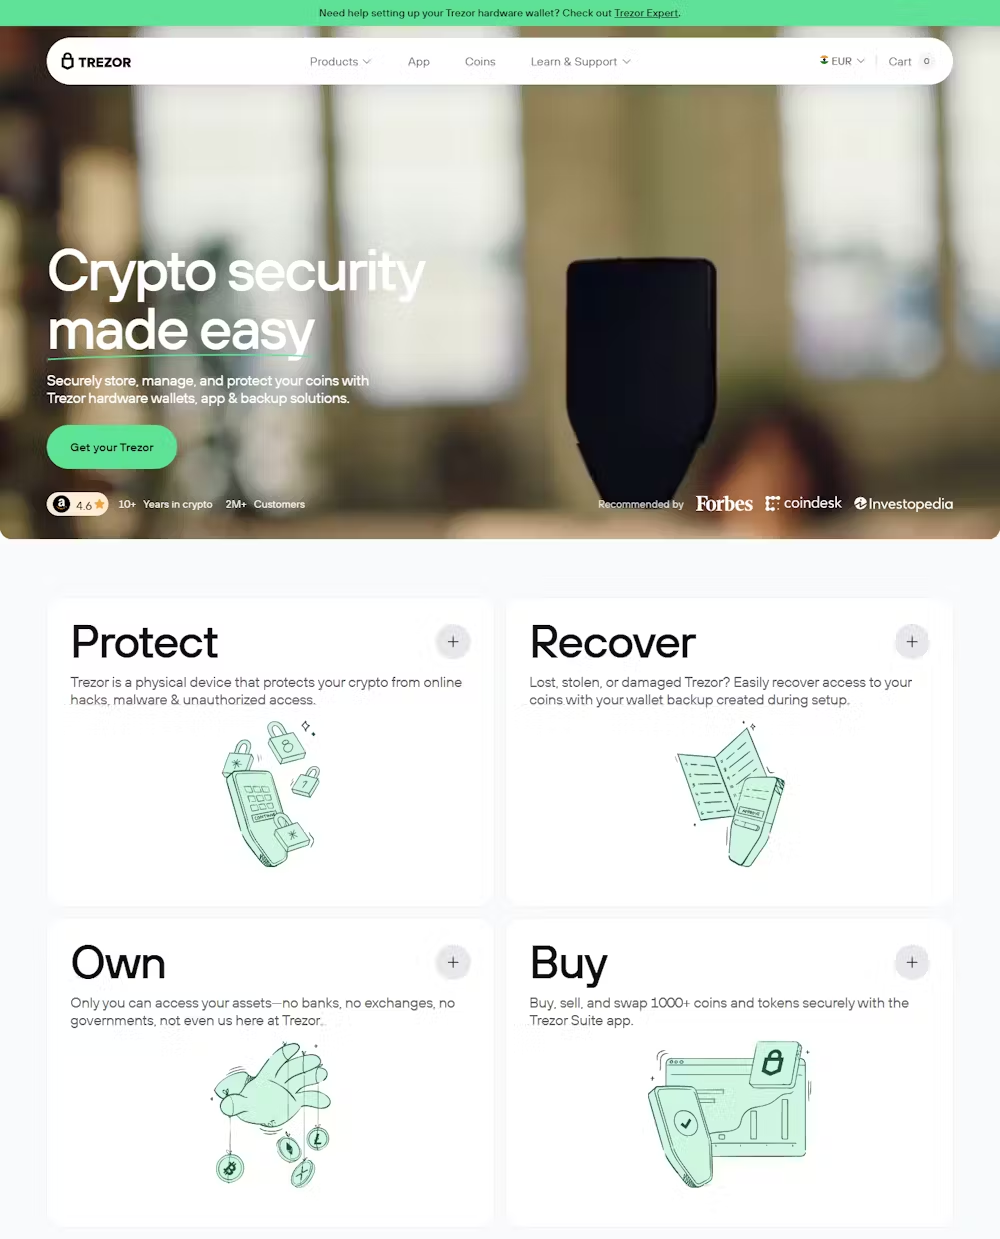
As digital assets continue to gain popularity, the importance of safely storing cryptocurrencies has never been more vital. Online wallets and exchanges, while convenient, expose users to significant risks such as hacking and phishing attacks. Enter Trezor, a hardware wallet that offers a more secure way to store and manage your crypto assets offline.
If you’ve just purchased a Trezor device or are considering getting one, this guide will walk you through the initial setup process via the official onboarding portal — Trezor.io/start — and explain why it matters for anyone serious about crypto security.
Trezor is one of the pioneering hardware wallets on the market, developed by SatoshiLabs. Unlike software wallets, a hardware wallet like Trezor stores your private keys offline. This offline storage dramatically reduces the risk of your assets being stolen via cyberattacks.
Some of the key advantages of using a Trezor device include:
The Trezor wallet supports thousands of cryptocurrencies and integrates seamlessly with various third-party applications, giving users a robust and flexible crypto management tool.
The setup process begins with a visit to the official Trezor onboarding site. Trezor.io/start is the trusted gateway to initializing and customizing your Trezor device. Here’s what you can expect during the onboarding journey.
Once you land on the Trezor.io/start page, the first step is selecting the device model you have. Trezor currently offers two primary models: Trezor Model One and Trezor Model T. The instructions will differ slightly based on your model, but both follow a straightforward setup process.
Trezor Suite is the dedicated desktop app designed to manage your wallet. From the onboarding page, you'll be prompted to download the latest version of this software for your operating system — Windows, macOS, or Linux.
The Trezor Suite replaces the older web-based interface and provides a more secure and feature-rich environment for managing digital assets. Once downloaded and installed, connect your Trezor device to your computer via USB.
When you first plug in your device, the Trezor Suite will detect it and prompt you to begin initialization. You’ll be guided through the steps to:
Important: Never use a pre-initialized wallet or a seed phrase provided by a third party. Trezor devices should always be initialized by the owner only.
One of the most critical steps is creating a backup of your 12- or 24-word recovery seed. This seed is your ultimate key to recovering your funds if your device is lost, stolen, or damaged.
Trezor will display these words once and in order. Write them down carefully on the recovery sheet provided in the box, and store it somewhere safe and offline. Never take a photo of the seed or store it digitally.
Next, you’ll be prompted to set up a PIN code for your device. This PIN prevents unauthorized access if the device is ever connected to a computer.
Additionally, you may choose to enable advanced security options like passphrase protection. This acts as a 25th word added to your recovery seed and creates hidden wallets. While optional, it adds an extra layer of protection for advanced users.
Once your wallet is initialized, you can begin managing your crypto assets through Trezor Suite. The interface allows you to:
Trezor Suite also integrates features such as exchange services, coin mixing (for enhanced privacy), and direct access to decentralized applications.
The Trezor.io/start portal isn’t just about getting your device running — it’s an essential part of a secure onboarding experience. It ensures that users download authentic software, follow best security practices, and understand how to handle their recovery seeds responsibly.
As digital finance evolves, threats to your assets will continue to grow more sophisticated. Using a hardware wallet like Trezor, combined with careful setup via Trezor.io/start, offers one of the best ways to protect your investment.
Whether you’re new to crypto or a seasoned investor, the peace of mind that comes with using a secure hardware wallet is well worth the effort.